Instructions for Apple Macintosh OS X
STEP 1: Make sure the wireless card is enabled on your laptop. There are two settings that could cause your wireless card to be disabled:
- Most laptops have a button to disable/enable the wireless card—when enabled the button will usually be lit.
- If you are not able to connect to wireless networks, then there is a chance that the Mac OS X operating system might have disabled your wireless network card. Here are the steps to check if your wireless network card is disabled by the Mac OS X operating system:
- Look at the upper-right corner of your screen for the wireless icon. If your Macintosh wireless network card is on, it should like either of the following screenshots:
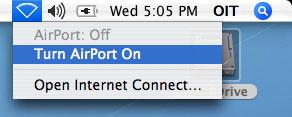
You can also verify if your wireless network card is on by clicking on the wireless icon and making sure that Airport is “On”.
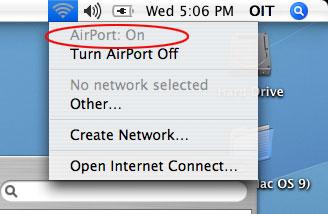
If your Macintosh wireless network card is off, it will look like this:

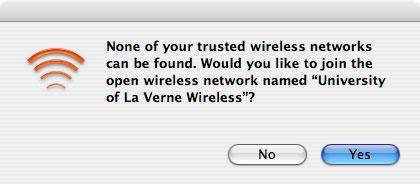
STEP 2: If you are connecting to the University of La Verne Wireless network for the first time, you should see a window appear as shown in the screenshot below; click on the Yes button.
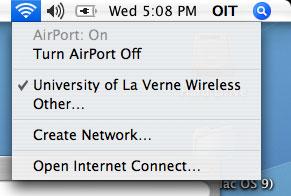
STEP 3: When your Macintosh wireless network card is connected to a wireless network, the wireless icon should appear in bold with stripes:

You can also click on the wireless icon and verify that it is connected to the University of La Verne Wireless network.
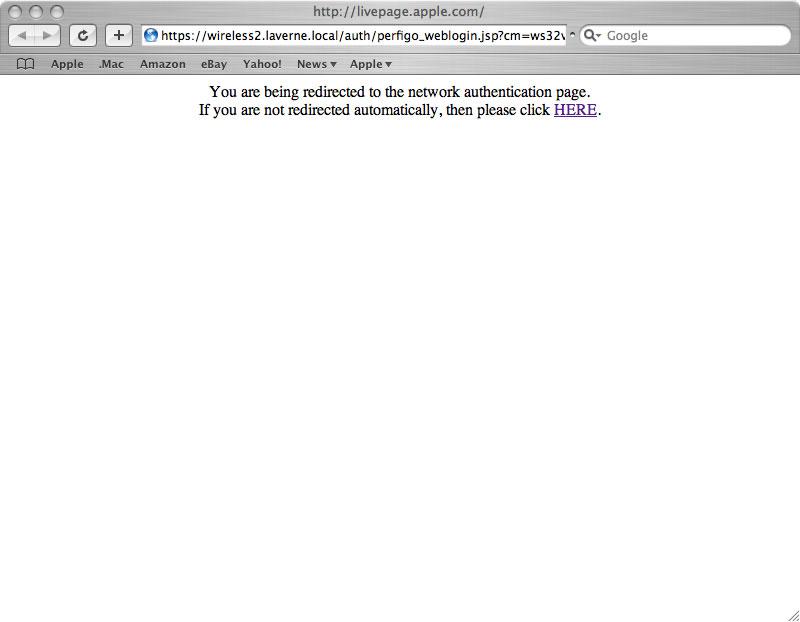
STEP 4: Open a web browser so your laptop can go through the Network Admission Control process (the Safari web browser is used in this example). If your browser does not automatically go to a default web page, please type in any website address. Your web browser will automatically be redirected to the Network Admission Control login page.
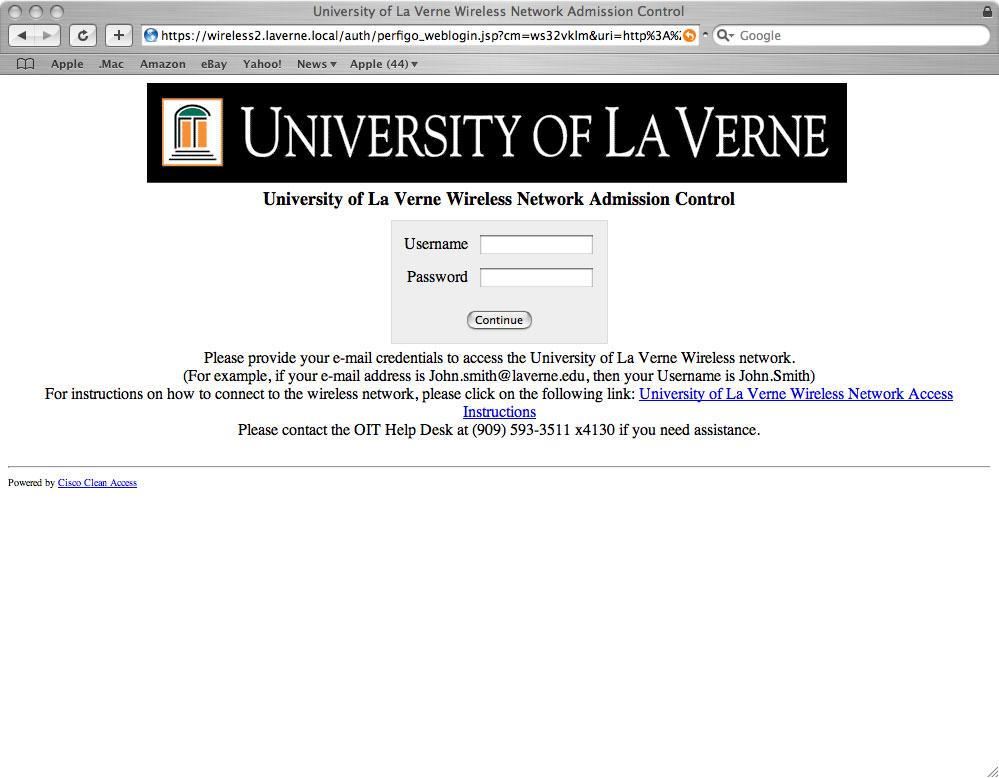
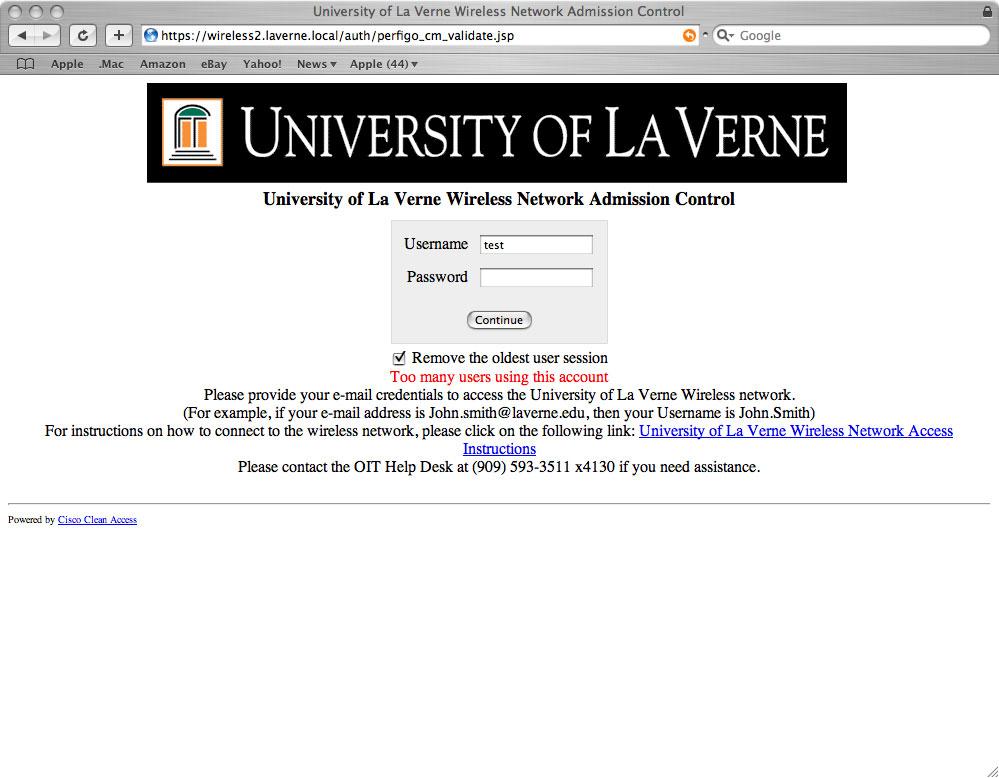
STEP 5: You should now see the Network Admission Control login page. Enter your University of La Verne e-mail username and password and click on Continue. For example, if your e-mail address is john.smith@laverne.edu, then enter john.smith in the Username box.
Also, if you see Too many users using this account (shown in the second screenshot below), check the box Remove the older user session and click Continue.
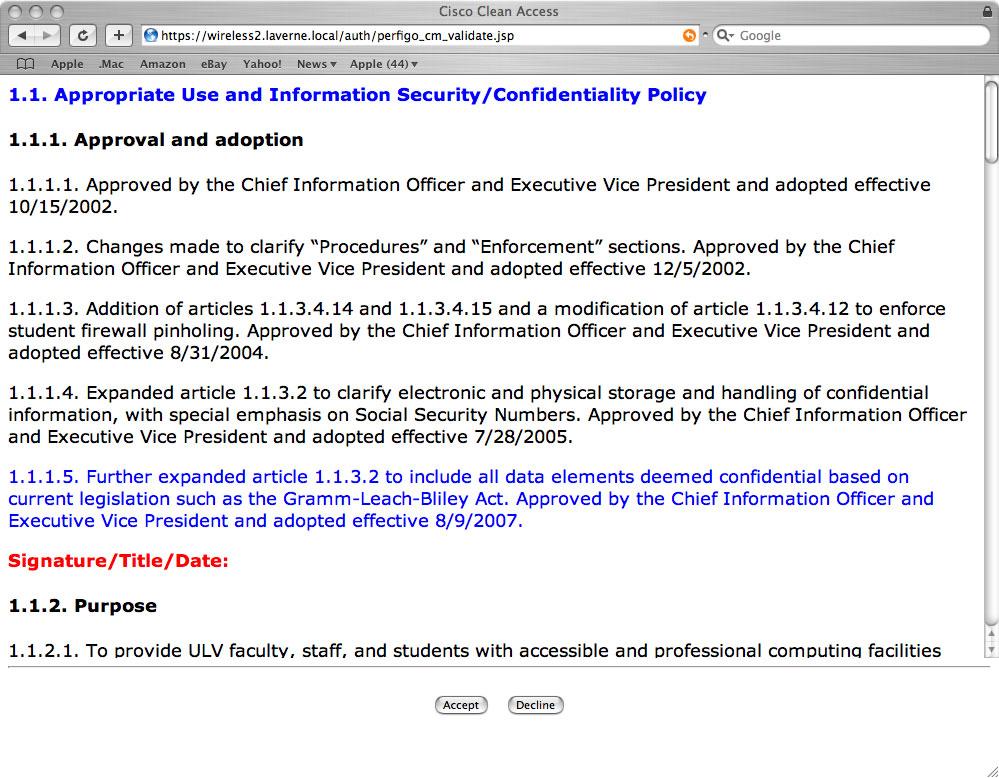
STEP 6: Review the policy terms and then click the Accept button if you agree to abide to by the policies.
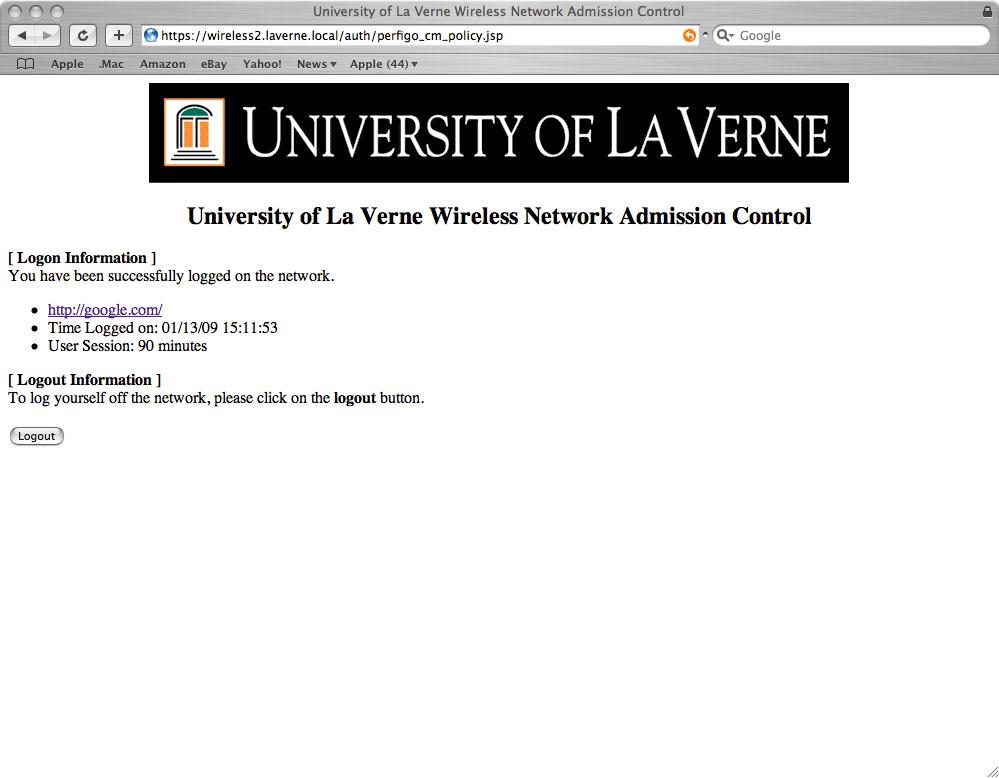
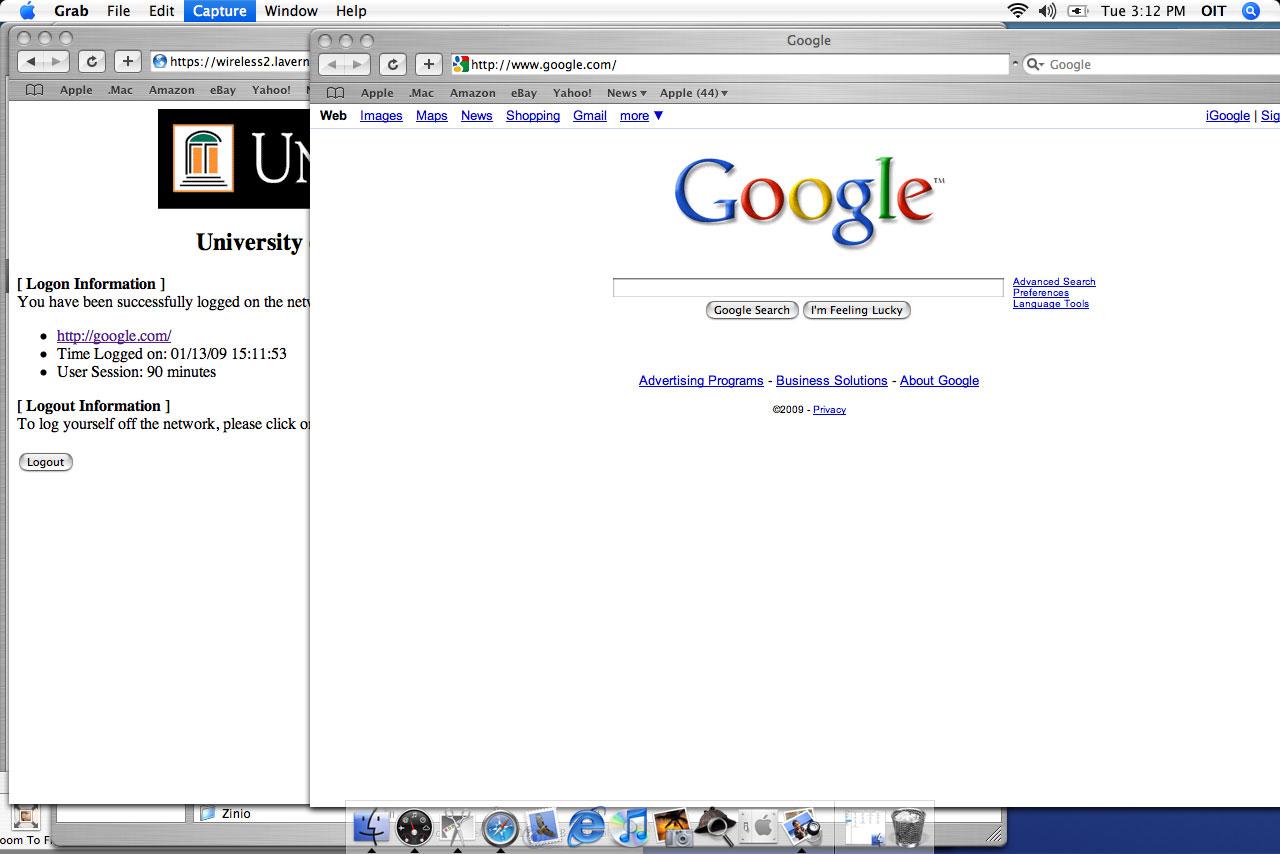
STEP 7: Congratulations, you are now connected to University of La Verne Wireless network, a status windows shows the status of your connection. Click on the hyperlink to browse websites, which will be opened in a new browser window (for example, http://google.com is the hyperlink listed in the screenshot below). When you are done accessing the wireless network, click on the Logout button.
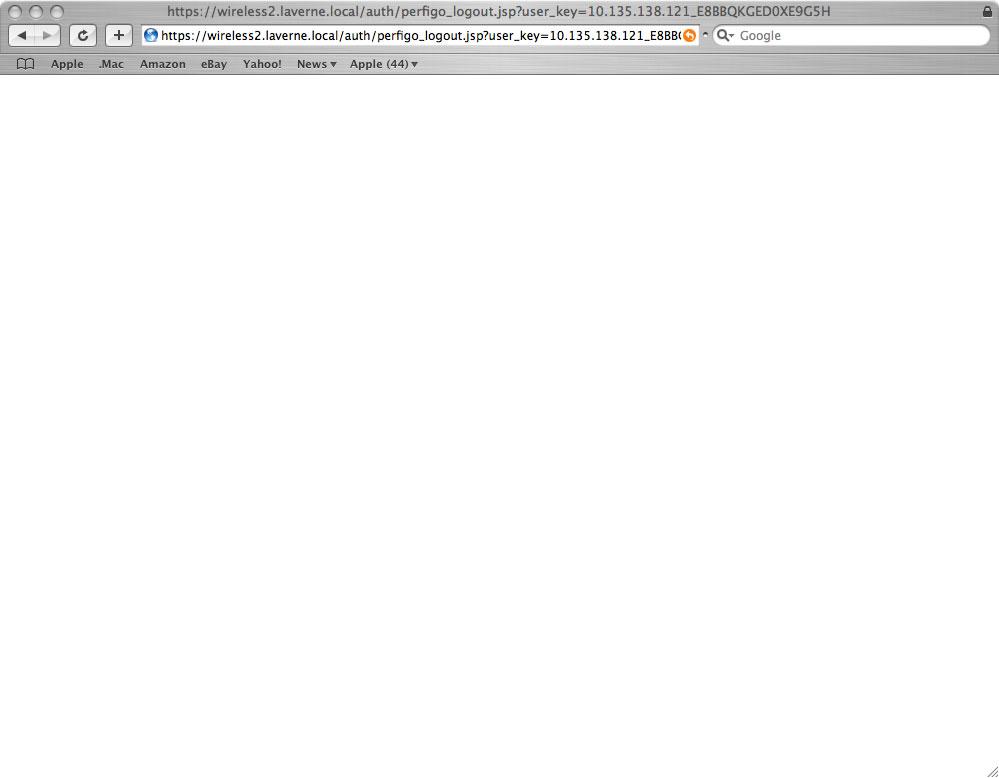
STEP 8: When you clicked the Logout button from the previous step, your browser window will go to a blank screen–you are now logged out of the wireless network and you can close the browser window.
Need Help?
If you have any problems, please contact the Unified Service Desk at (909) 593-3511 x4130
